
Are you tired of your robot vacuum damaging your baseboards? You’re not alone. Many homeowners face this issue, and it can be frustrating. But don’t worry.
There are solutions to protect your baseboards and keep your home looking its best. Read on to learn how to protect baseboards from robot vacuums!
How To Get Vacuum Marks Off Baseboards?
- Use a microfiber cloth or paper towel dampened with warm water to gently wipe away the vacuum marks.
- Add a small amount of mild dish soap to the water for tougher marks.
- Use a magic eraser or a melamine sponge for stubborn vacuum marks.
- For particularly stubborn marks, mix baking soda with water to create a paste and gently scrub the baseboards.
- Consider repainting the baseboards if the marks are really deep and difficult to remove.
- Regularly dust and wipe down baseboards to prevent vacuum marks from building up.
- Use a vacuum brush attachment with soft bristles to prevent future marks.
What’s The Better Solution?
You can easily remove vacuum marks off baseboards by using their VacuBumper accessory.
This durable add-on is the best way to protect your interior walls and baseboard paint from scuff marks caused by robotic vacuum cleaners like Roomba, Neato, or Irobot.
This scuff-free accessory is also compatible with Miele and other popular robotic vacuum brands available on Amazon.
With its durable fabric and efficient suction capabilities, VacuBumper is the solution to keeping your baseboards clean and free of scuff marks.
But, How To Install VacuBumper?
If you’re tired of your furniture legs getting caught on the baseboards and leaving black marks, you’ll appreciate the Durabumper. Here is a step-by-step guide on how to install a VacuBumper:
Step 1: Unbox the VacuBumper and lay out all the parts to ensure everything is included and in good condition.
Step 2: Clean the area where you will be installing the VacuBumper to ensure there is no dirt or debris that could affect the adhesion of the bumper.
Step 3: Peel off the backing of the adhesive strips on the back of the bumper and carefully align the bumper on the edge of the vacuum cleaner.
Step 4: Press firmly on the bumper to ensure it is securely attached to the vacuum cleaner.
Step 5: Repeat the process for any additional pieces of the VacuBumper if it is a multi-piece set.
Step 6: Test the vacuum cleaner to ensure the bumper is securely attached and does not interfere with the vacuum’s performance.
Use Pads for Protection
To prevent your robot vacuum from scratching baseboards, attach felt pads to the front bumper. But be careful not to cover the sensors, which help the vacuum ‘see‘ where it’s going.
Cut the pads to size or position them to avoid interfering with the sensors. This way, your vacuum can do its job properly and keep your home looking clean and scratch-free.
A Quick Fix with Painter’s Tape
If you don’t have felt pads, use blue painter’s tape to prevent marks from the automatic vacuum cleaner.
Apply the tape gently to the vacuum’s parts that bump into furniture or baseboards. This will protect your walls and furniture from getting scratched or damaged.
Wrapping the tape around the edges of the vacuum will ensure that it doesn’t end up hitting the wall or any expensive furniture.
What Kind of Damage Can Happen?
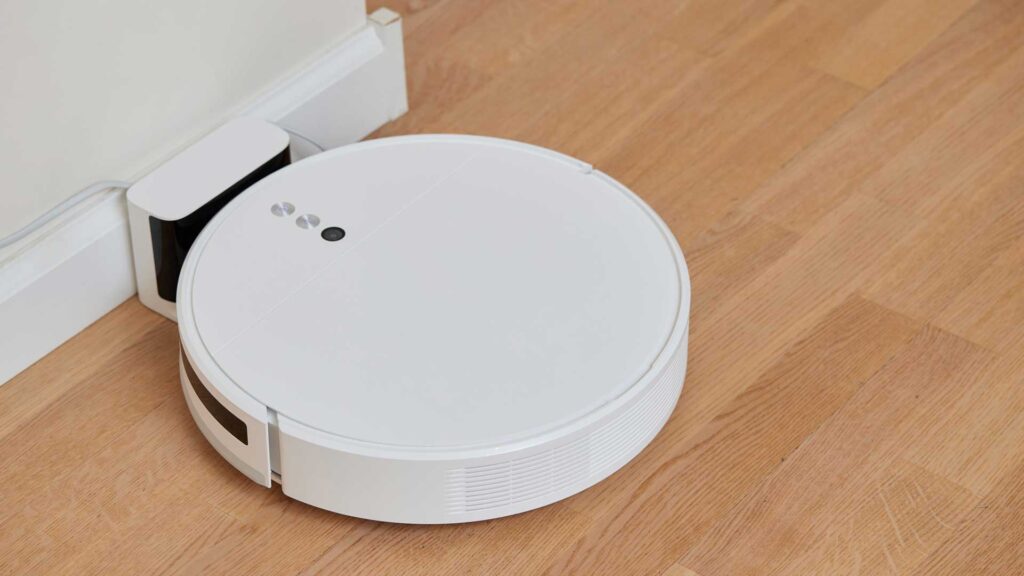
Robot vacuums may leave minor marks on baseboards but it’s usually not a significant issue. They’re designed to navigate their way around a room without scraping walls or other obstacles.
Most models are easy to install and come with battery life that lasts through a full household cleaning.
Some vacuums also have sensors to prevent slipping or damage to furniture. If you find marks left behind, they can usually be easily wiped away.
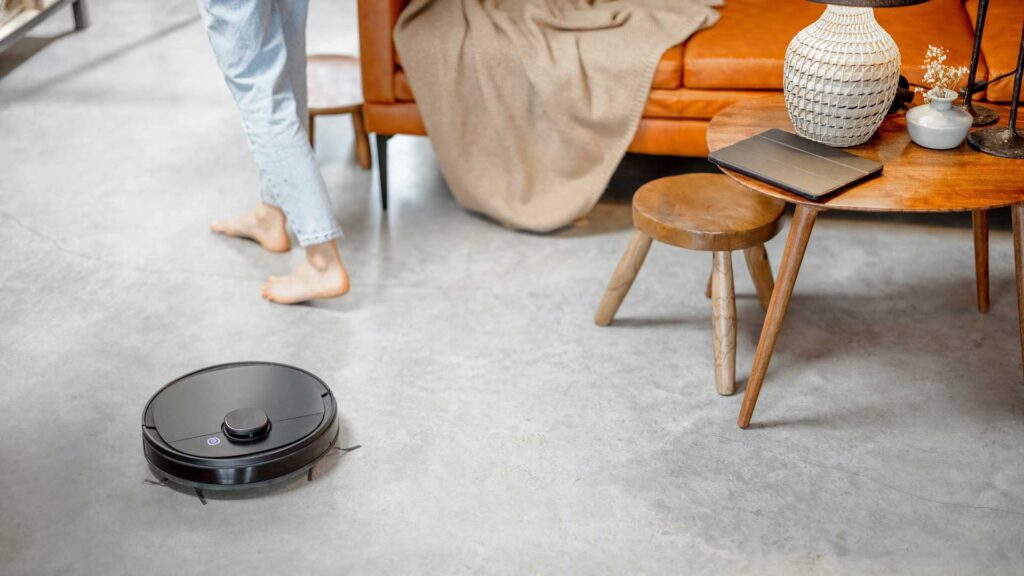
Why Do Robot Vacuums Bump Into Things?
Robot vacuums use contact sensors to detect obstacles. They navigate by going in a straight line until they touch something, then they change direction.
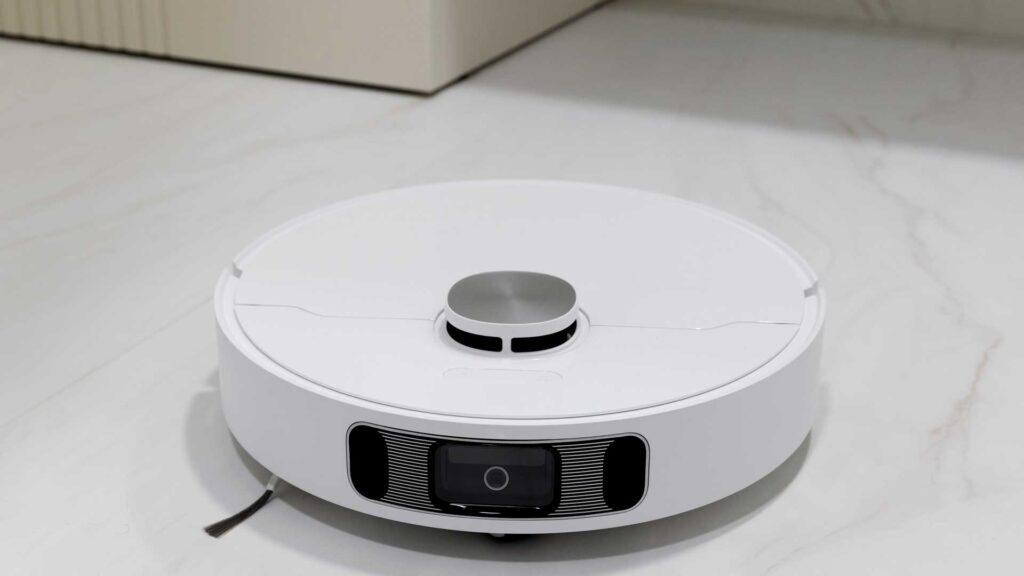
Advanced models have lasers or cameras to create a map of the room. Though they are not perfect and may still bump into objects occasionally, they are constantly improving.
Does Every Robot Vacuum Need Extra Padding?
Some robot vacuums come equipped with bumper guards to protect baseboards and trim from damage while cleaning. But, not every robot vacuum requires this extra padding.
It may be necessary for homes with delicate flooring or expensive floorboards, but for those with cheaper flooring or in rooms with minimal bed or furniture obstruction, it may not be essential.
Installing Padding the Right Way
To prevent marks and scratches, adding padding to your robot vacuum can be helpful, but it must be done correctly to ensure it still works properly.
Choose the Right Material
Choose a soft, thin material like foam or rubber for padding that can cushion impact without being bulky. Ensure it is flexible and can be easily cut to size.
Measure Carefully
Measure the areas you want to protect on your robot vacuum before attaching padding. Cut padding to fit without covering important parts.
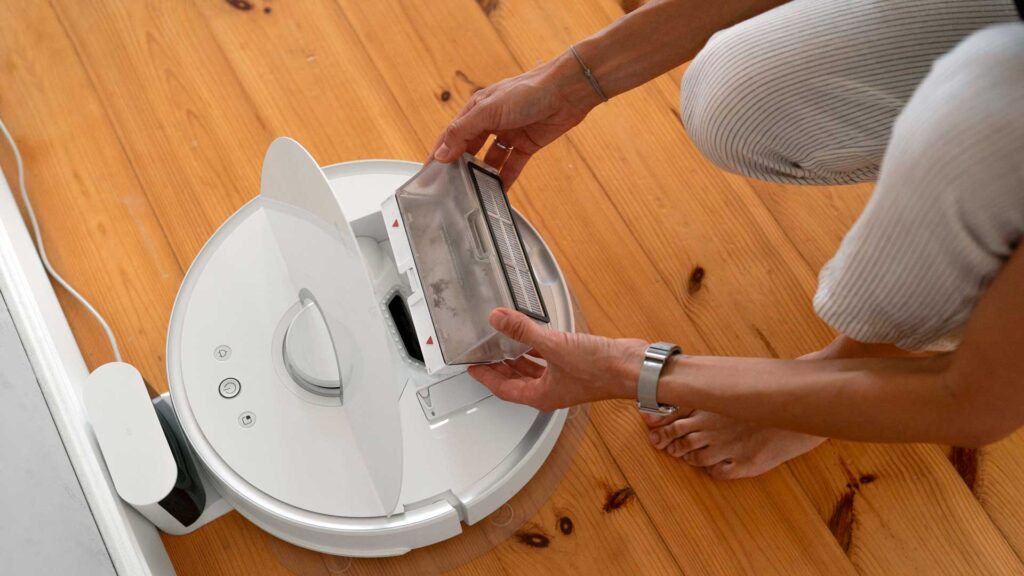
Watch Out for Sensors
Avoid covering the sensors on your robot vacuum as it can confuse it and potentially cause it to get stuck. Ensure that any padding or obstacles are kept away from the sensors, usually located on the front or underside of the vacuum.
Check the Bumper Function
Check the bumper on your robot vacuum by gently pressing it. It should easily spring back after contact; if it doesn’t, the padding may be too thick or not applied correctly.
Secure the Padding
Attach the padding securely to the vacuum using appropriate double-sided tape. Press firmly to ensure it stays in place during cleaning.
Test Your Robot Vacuum
After adding padding, test your vacuum to ensure it’s not hitting walls or struggling. Adjust the padding as needed to avoid any issues.
This will help keep your baseboards and furniture scuff-free while maintaining effective cleaning.
Why Don’t Vacuums Come with Padding?
It’s a mystery why robot vacuums don’t come with built-in padding to avoid damaging walls.
As robot vacuum technology advances, we may see models with improved navigation capabilities that eliminate the need for padding to protect walls and furniture.